5 Easy Quilt Blocks Every Beginner Should Try
Before I ever published a magazine article or a book, I dreamed of writing The Great American Novel. Like many creative people, I imagined my first attempts would turn into something grand. The truth is, it takes practice to develop any skill, and the smaller projects I published along the way, such as newspaper articles, magazine features, and a couple of children’s books, became my training ground.
When Erin started quilting, she had the same big dreams. She picked out a beautiful pattern, bought her fabric, and dove into her research on how to quilt. But when she asked a seasoned quilting friend for advice, the reaction was instant. “Why do all beginning quilters start with triangles? That’s crazy!”
Her friend was right. Triangles are tricky for first-time quilters, and a complicated quilt block pattern can frustrate beginners before they have had the chance to enjoy the process. Erin switched to a simpler design, built her skills step by step, and discovered the joy of quilting without the stress.
It is wise advice for any new crafter: walk before you run. With that in mind, here are five beginner quilt block patterns that are easy, forgiving, and fun to sew.
Nine Patch Quilt Block

The Nine Patch block is one of the most iconic quilt patterns, and it is perfect for quilting beginners. Made from nine equal fabric squares arranged in a simple three-by-three grid, this block teaches accurate cutting and seam allowance while giving you a finished design that looks polished.
Fabric and Cutting Instructions (for a 12" finished block):
-
Cut 5 light fabric squares, each 4.5" x 4.5"
-
Cut 4 dark fabric squares, each 4.5" x 4.5"
(Tip: these measurements include a ¼" seam allowance. The block will measure 12.5" before sewing into a quilt, and finish at 12" once joined with others.)
Assembly Steps:
-
Arrange your nine squares in a checkerboard pattern: light, dark, light on the first row, alternating with dark, light, dark in the second row, and so on.
-
Sew the squares into three rows. Press the seams of the first row to the right, the second to the left, and the third to the right again.
-
Join the rows together, carefully nesting the seams so the corners match neatly.
-
Press the entire block flat.
Your Nine Patch quilt block is complete. This design can be repeated in different fabrics for a scrappy quilt, or kept uniform for a traditional, classic look.
Rail Fence Quilt Block

The Rail Fence is one of the simplest quilt blocks you can make, which is why it is a favorite for beginners. The block is built from fabric strips, making it an excellent way to practice cutting long pieces and keeping seams straight. By rotating the blocks when you join them into a quilt, you can create striking woven or zig-zag patterns without complicated piecing.
Fabric and Cutting Instructions (for a 12" finished block):
-
Cut 3 fabric strips, each 4.5" x 12.5"
-
Use three different fabrics for contrast, such as light, medium, and dark tones.
(Tip: The strips are cut at 4.5" wide to finish at 4" after seams, giving you a block that measures 12.5" before sewing into a quilt and 12" once joined.)
Assembly Steps:
-
Lay out the three strips horizontally in the order you prefer, alternating light, medium, and dark.
-
Sew the strips together along the long edges using a ¼" seam allowance.
-
Press seams in one direction.
-
Square up the block to 12.5".
That is all it takes to complete the Rail Fence block. When combined in multiples, this beginner-friendly block can create bold geometric designs with very little effort.
Half Square Triangle (HST) Quilt Block

The Half Square Triangle, often shortened to HST, is a beginner’s first step into diagonal piecing. It looks more complicated than it is, but once you learn this method you will find countless patterns that use HSTs to create stars, chevrons, pinwheels, and more. This block is a building block for much of traditional quilting.
Fabric and Cutting Instructions (for a 12" finished block):
-
Cut 2 light fabric squares, each 7" x 7"
-
Cut 2 dark fabric squares, each 7" x 7"
(Tip: These oversized squares will give you extra room to trim. Each pair of squares will make 4 HST units, which you can then arrange into a 12.5" block that finishes at 12" in a quilt.)
Assembly Steps:
-
Place one light and one dark square right sides together.
-
Draw a diagonal line from corner to corner on the light square.
-
Sew a seam ¼" away from both sides of the line.
-
Cut on the drawn line to create two triangle units.
-
Press seams toward the dark fabric.
-
Trim each unit to 6.5" square.
-
Repeat with the other pair of light and dark squares.
You will now have four HST units. Arrange them to form a pinwheel pattern, with the light and dark triangles alternating, or create a diagonal stripe effect. Sew them together into rows, then join the rows to complete your block.
The Half Square Triangle is one of the most versatile quilt blocks a beginner can master. It opens up an entire world of patterns with just one simple technique.
Churn Dash Quilt Block

The Churn Dash is a traditional quilt block that dates back to the 1800s. Its name comes from its resemblance to the paddles of an old butter churn, but don’t let the history fool you — it is simple enough for beginners to sew. The Churn Dash is a great block for practicing multiple piecing techniques in one project, including strips, squares, and Half Square Triangles.
Fabric and Cutting Instructions (for a 12" finished block):
-
Cut 1 center square (light fabric): 6.5" x 6.5"
-
Cut 2 light squares and 2 dark squares, each 7" x 7" (for 4 HST units)
-
Cut 4 rectangles, each 3.5" x 6.5" (two light, two dark for the side rails)
(Tip: This will create a 12.5" block that finishes at 12" when sewn into a quilt.)
Assembly Steps:
-
Make the HST units: Pair each light square with a dark square. Use the same method as before (draw diagonal line, stitch ¼" on each side, cut apart, press, and trim to 6.5"). You will end up with 4 HST units.
-
Assemble the side rail units: Sew one light and one dark rectangle together along the long edge to create a two-color strip. Repeat for the second pair. Trim each strip to 6.5" x 6.5".
-
Lay out the block: Place the large light square in the center. Arrange the HST units in the corners so they point inward toward the center. Place the side rail units on the sides.
-
Sew the block together in three rows. Join the rows and press the seams flat.
The Churn Dash is a step up from the Nine Patch and Rail Fence, but still very beginner-friendly. It teaches you how to combine different block types and creates a classic design that looks beautiful in any color scheme.
Friendship Star Quilt Block

The Friendship Star is a classic quilt block that symbolizes connection and community. It is made from squares and Half Square Triangles arranged to form a simple star, which makes it a great choice for beginners learning to line up points. This block looks beautiful on its own or repeated in a quilt where the stars appear to dance across the fabric.
Fabric and Cutting Instructions (for a 12" finished block):
-
Cut 4 light squares, each 4.5" x 4.5"
-
Cut 1 dark square (center), 4.5" x 4.5"
-
Cut 2 light squares and 2 dark squares, each 5" x 5" (for 4 HST units)
(Tip: Oversizing the HST units allows you to trim them down to 4.5", giving sharp points in the finished block.)
Assembly Steps:
-
Make the HST units: Pair each light 5" square with a dark 5" square. Sew ¼" on both sides of a diagonal line, cut apart, press, and trim to 4.5".
-
Lay out the block: Place the dark square in the center. Arrange the four HST units around it so the dark triangles create a spinning star effect. Fill in the corners with the four light squares.
-
Sew the block together in three rows. Join the rows and press seams flat.
The Friendship Star is quick to sew and adds movement and charm to any quilt. It is one of the simplest star patterns, yet it carries a timeless message of warmth and connection.
As you can see, the last three quilt block patterns involved Half Square Triangles. I purposefully arranged the five blocks in order of difficulty, so if this is your very first quilting project, begin with the Nine Patch Quilt Block and then work your way up to the more complex patterns. Once you have the basic skills intact, you’ll discover that quilting is a fun, relaxing, and rewarding experience. Happy stitching!
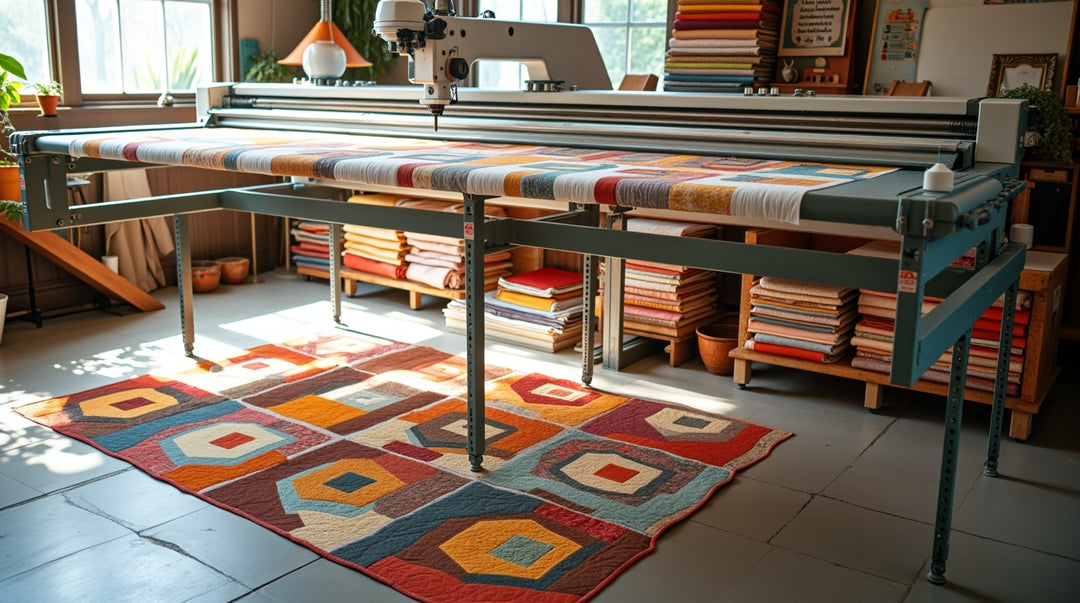
Pisgah Needleworks will have its Grand Opening on September 27th, 2025 during the Yadkin Valley Pumpkin Festival! In the meantime, feel free to look through our online store at www. pisgahneedleworks.com. Once our store is open, we will once again be able to offer long arm quilting services to all of our clients.


Leave a comment